Assessing why moisture affects sports halls in Newham
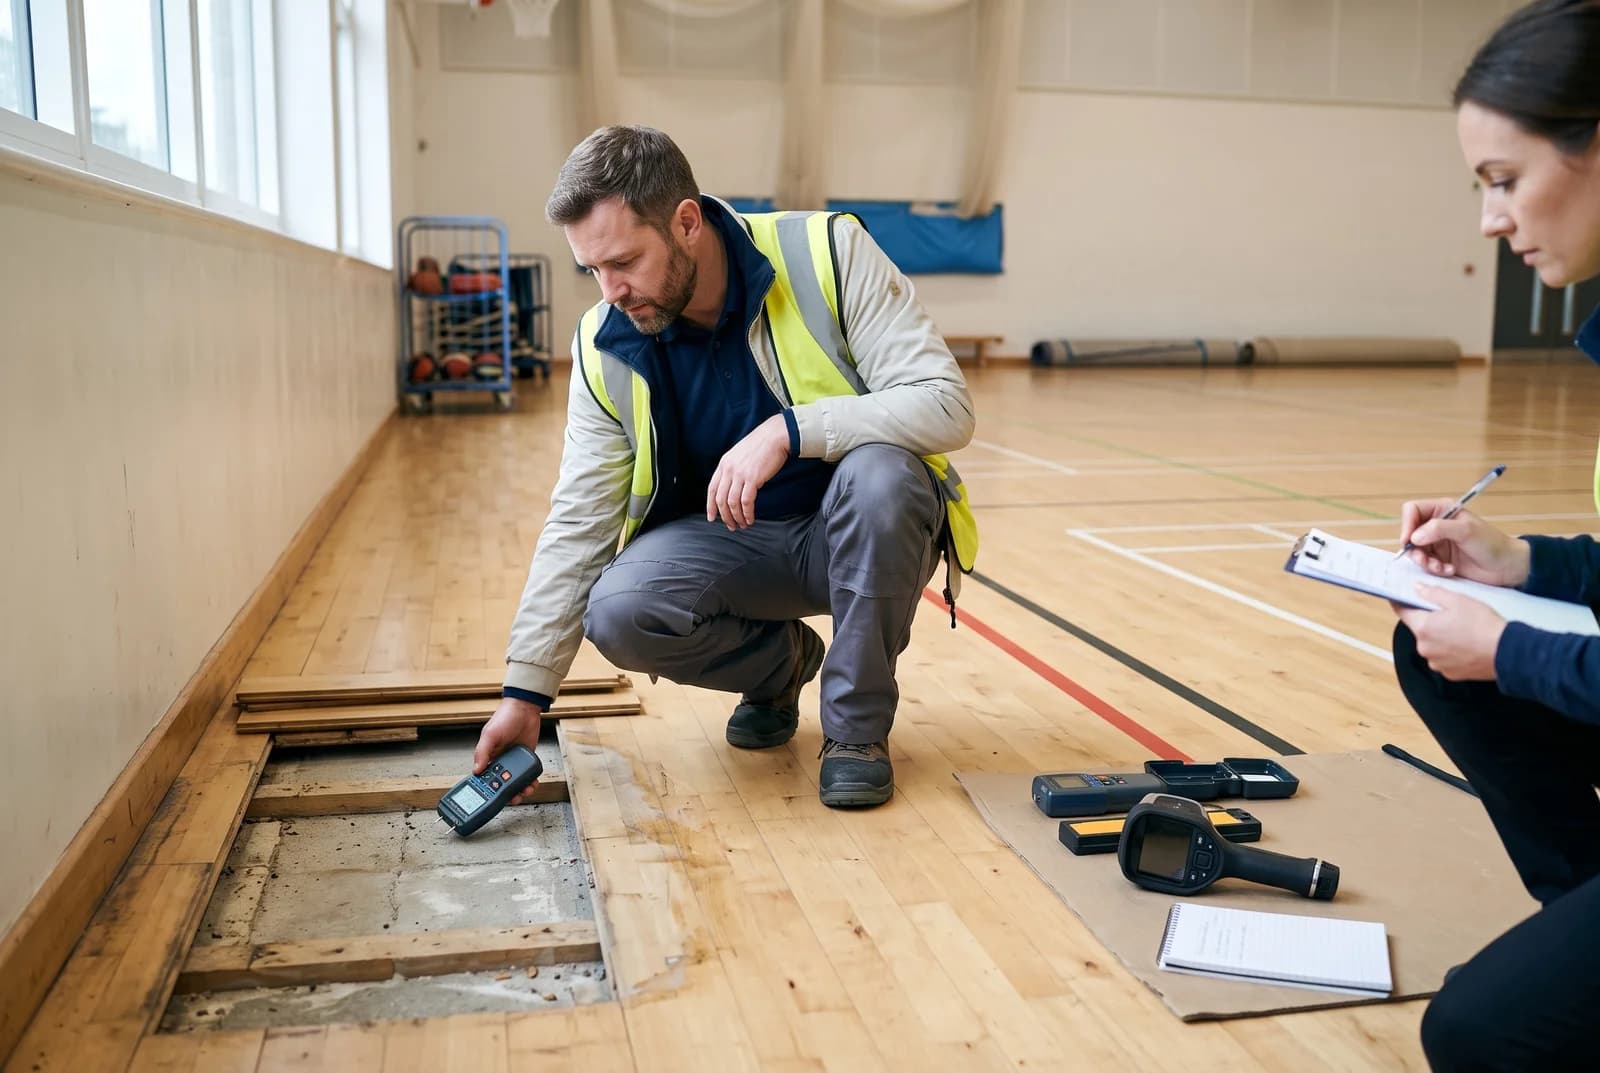
Solving Subfloor Moisture Issues in Thames-Side Facilities in Newham starts with understanding how water reaches the floor. A sports hall may be affected by ground conditions, plumbing failures, rainwater entry or internal humidity, and several causes can exist at once. You need to investigate the building rather than assume that a damaged board or blistered finish is the root problem. A measured diagnosis gives you a much firmer basis for deciding whether the repair should be local or extensive.
How Thames-side conditions influence ground moisture
In low-lying, built-up parts of Newham, a sports facility can be exposed to a combination of damp ground, heavy rainfall, hard external surfaces and changing drainage conditions. That does not mean every Thames-side building has the same defect, but it does mean the relationship between the floor slab, surrounding ground and external drainage deserves attention. Older halls may also have been altered over time, leaving different floor constructions or repaired drainage runs beneath adjoining spaces.
You should consider the building’s levels, the condition of thresholds and the direction in which surface water travels. A small change in external paving or a blocked gully can send water towards a wall or entrance, while moisture beneath a slab may remain hidden until the floor covering reacts.
Common moisture sources beneath sports floors
Moisture may come from a leaking heating or water service, failed rainwater goods, defective below-ground drainage or water entering at a perimeter wall. It can also be retained within a new screed or concrete repair that was covered before it had dried sufficiently. Condensation is another possibility when warm, humid air meets a colder floor or poorly ventilated edge zone.
Site history helps you separate these possibilities. Ask when the symptoms first appeared, whether they follow rainfall or school holidays, and whether nearby rooms have experienced leaks. A sports flooring site survey in Newham can provide a practical starting point when you need the floor, its surroundings and the intended use assessed together.
Warning signs of a subfloor moisture problem
Visible cupping, swelling, darkened timber or open joints should be treated as evidence that the floor system is under stress, not as a cosmetic inconvenience. With resilient surfaces, bubbling, debonding, staining, soft patches and persistent odour can indicate moisture below the finish. Changes in ball response or an area that feels different underfoot may also warrant investigation, particularly where the floor has a sprung or area-elastic construction.
You should record the location, size and progression of each symptom. Early evidence saves disruption because it helps you target testing before damage spreads into sound areas or forces an unplanned closure.
Diagnosing moisture beneath the sports floor
A useful diagnosis combines observation, testing and an understanding of how the floor was built. You are not simply looking for a high number; you are trying to establish where moisture is held, how it is moving and whether the environment is allowing the floor to dry. Testing should be repeatable and documented so that later decisions can be checked. It should also extend beyond the obvious damaged patch.
Reviewing the floor construction and site history
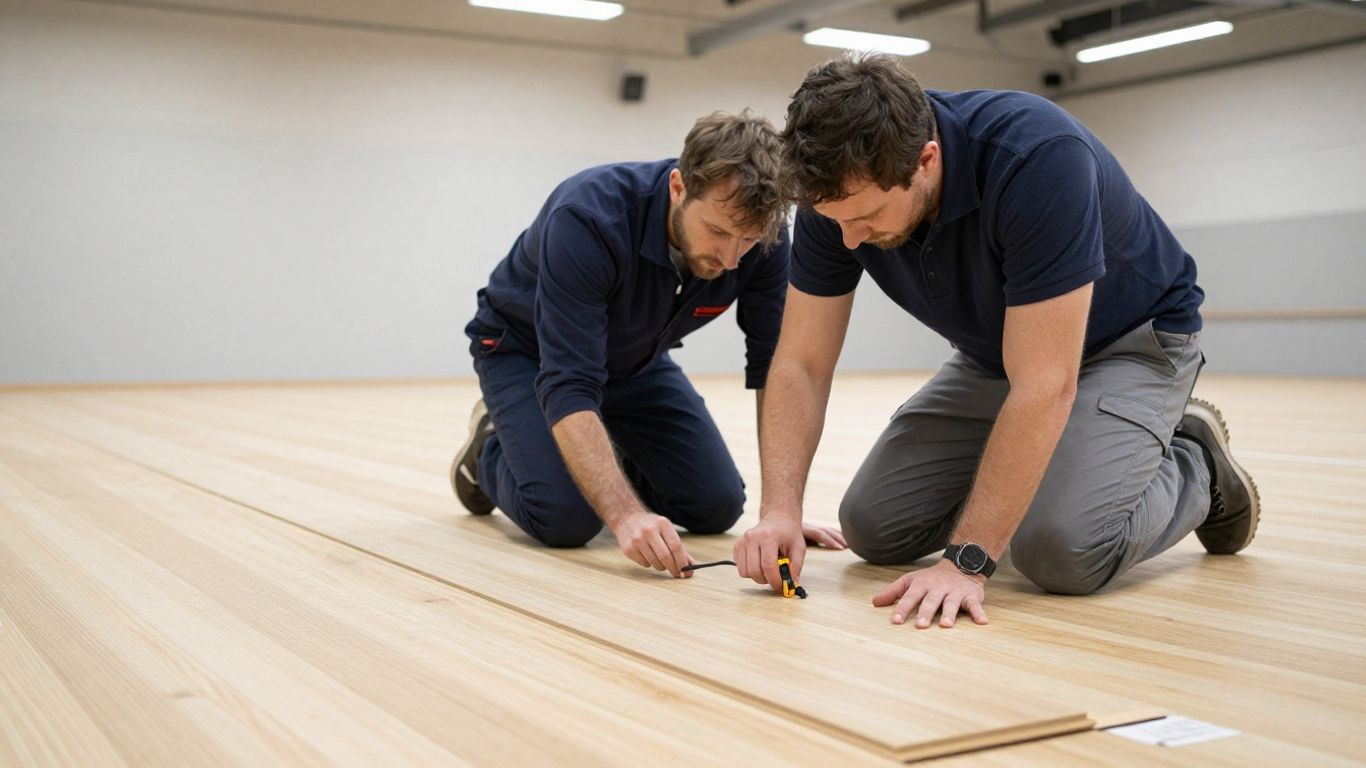
Before testing, establish whether you have solid timber, an engineered sports surface, a resilient finish, a floating system or a floor supported by battens and shock pads. Look for drawings, previous refurbishment records, guarantees, leak reports and any information about the slab, membrane or screed. If records are incomplete, small inspection openings may be more informative than assumptions based on the surface alone.
You should also note later additions such as partitions, ramps, storage platforms or floor repairs. These can change ventilation beneath a timber system or create local differences in moisture behaviour.
Choosing suitable moisture and humidity tests
The testing method should suit the material being measured and the question you need to answer. Depending on the construction, this may involve moisture readings in timber, the slab or screed, relative humidity within the building, surface temperature and air movement. A single handheld reading is useful as an indication, but it is not a complete diagnosis.
The following record helps you compare conditions across the building and decide whether further investigation is needed:
| Area or material | Useful observation | Why it matters |
|---|---|---|
| Timber boards | Moisture variation and visible distortion | Shows whether the surface is reacting locally or widely |
| Screed or slab | Moisture condition at representative points | Indicates whether the base is ready for a covering |
| Hall air | Temperature and relative humidity | Helps assess drying and condensation risk |
| Perimeter zones | Cold edges, staining or damp detail | May identify external water entry or thermal differences |
The results should be interpreted alongside the floor specification and the manufacturer’s installation requirements. They are most useful when they explain the pattern of damage rather than being treated as an isolated pass-or-fail exercise.
Mapping readings across large halls and adjoining areas
Large sports halls often behave unevenly. Readings near entrances, external walls, washrooms, plant rooms and storage areas may differ from those at the centre of the court. Divide the floor into a simple grid, mark damaged and undamaged areas, and include adjoining rooms where pipes, drainage or changes in ventilation could affect the hall.
A mapped survey makes recurring patterns easier to see. It can show whether the problem follows one wall, sits above a service route or appears wherever furniture restricts airflow. That information can prevent you from removing a much larger area than necessary.
Distinguishing condensation from rising damp
Condensation usually relates to the air and surface temperatures, humidity and ventilation at the time it forms. Rising damp or moisture from below is more likely to produce a pattern connected with the ground, slab, perimeter or a local break in the floor’s moisture protection. The two can look similar at first, especially where a cold edge zone remains hidden beneath a sports floor.
You should compare readings over time and inspect external details before settling on a cause. A short observation period, supported by information about rainfall, heating and hall use, can be more revealing than a hurried conclusion based on staining alone.
Understanding the risks to sports flooring and users
Moisture affects more than appearance. It can alter the dimensions and resilience of floor components, weaken bonds and change the way the surface responds to sport. In a school or leisure centre, those changes can affect safety, bookings and confidence in the facility. The severity depends on the moisture source, duration, construction and how quickly the issue is controlled.
How excess moisture damages timber and resilient surfaces
Timber takes in and releases moisture, so uneven exposure can lead to swelling, cupping, crowning, open joints or distortion. A floor may become noisy, uneven or less predictable underfoot. Resilient surfaces can blister, soften, stain or lose adhesion when moisture remains beneath them, particularly if the finish has sealed the path for evaporation.
You should avoid sanding or patching a visibly affected area until the underlying condition is understood. Removing the symptom without controlling the source often results in repeat work and a longer closure later.
Effects on adhesives, screeds and floor finishes
Adhesives can lose bond strength when exposed to moisture beyond their intended service conditions. A screed may crack, dust, curl or remain too damp for a new finish, while primers and coatings may fail if applied over an unsuitable base. These failures can occur below an apparently sound surface, which is why lifting a small section may be necessary during diagnosis.
Specify compatible materials and follow their preparation and curing requirements. The floor should be considered as a sequence of layers, with each one able to support the next under the expected moisture and environmental conditions.
Slip, odour and indoor air quality concerns
A damp floor can create odours, encourage microbial growth in concealed materials and contribute to an uncomfortable indoor environment. Moisture or cleaning residues may also change surface friction, while swelling or lifting creates trip points. These concerns should be considered alongside the sport being played, footwear, cleaning regime and ventilation pattern.
If users report smells, slippery areas or unusual humidity, record the reports with dates and locations. They may help you identify a pattern that is not obvious during a short technical visit.
When moisture creates a programme or safeguarding risk
A floor that is lifting, unstable or contaminated should not remain open simply because the booking calendar is full. You need a clear decision about restricted access, temporary protection and communication with staff, pupils, clubs and contractors. In an education setting, safeguarding includes controlling who can enter an isolated work area and preventing equipment from being moved through it.
The earlier you establish the likely scope, the easier it is to plan a safe closure. A short survey period is usually less disruptive than an emergency shutdown during term time or a busy community-use programme.
Selecting the right remedial approach
The appropriate remedy depends on the source, the extent of damage and the construction beneath the sports surface. Sometimes improved environmental control and a plumbing repair are enough to protect a sound floor. In other cases, the moisture has already affected the base or concealed components and a controlled strip-out is unavoidable. You should compare options by durability, compliance, access and whole-life disruption, not just initial cost.
Improving ventilation and environmental control
You may need to correct inadequate air movement, adjust heating and ventilation controls or reduce humidity generated by showers, cleaning and occupied spaces. The aim is not to dry the floor aggressively at any cost; it is to create stable conditions that allow materials to reach an appropriate balance without damaging the building or surface.
Check that vents are clear and that equipment is operating as intended. Environmental readings before, during and after the works will help you see whether the building can maintain suitable conditions once the hall returns to normal use.
Repairing leaks, drainage and external water entry
A flooring repair should not begin until obvious water sources have been addressed. Inspect roof outlets, gutters, downpipes, thresholds, drainage channels, service routes and external paving. Where water enters at the perimeter, the repair may involve building fabric or drainage work rather than flooring alone.
A sensible sequence is to confirm the source, make the external or service repair, allow the affected area to dry and then repeat the investigation. This prevents a new floor system being installed over a defect that is still active.
- Repair leaking pipes, valves and nearby service routes.
- Clear blocked gullies and check discharge away from the building.
- Inspect thresholds, joints and perimeter details for water entry.
- Confirm that external levels do not direct rainfall towards the hall.
Once these items are closed out, the flooring contractor can reassess the base with much greater confidence. The list is deliberately practical: a beautifully finished sports surface will not compensate for a blocked drain or a continuing leak.
Using damp-proof membranes and surface-applied barriers
Where moisture comes through the base, you may need a damp-proof membrane, a compatible surface-applied barrier or another specified system. The choice depends on the substrate, moisture condition, floor build-up and the requirements of the new finish. Preparation is critical; contamination, weak concrete and trapped moisture can undermine even a suitable barrier.
You should obtain written compatibility information for primers, adhesives, screeds and floor finishes. Any barrier must form part of a designed system, not an isolated product applied because the visible floor has failed.
Deciding between local repairs and full floor replacement
Local repair can be appropriate where damage is confined, the surrounding construction is sound and the moisture source has been controlled. Full replacement becomes more likely when the base is widely affected, timber has distorted throughout, components beneath the surface have deteriorated or the existing system cannot meet the required performance.
For a facility manager, the decision should include future maintenance and operational risk. London sports flooring expertise can help you compare installation and refurbishment requirements across the full floor system, while the final specification should remain grounded in the actual survey findings.
Managing moisture in timber sports floors
Timber sports floors need a careful balance between moisture control, drying and performance. They are built to provide a consistent playing surface, but boards, battens, pads and finishes can respond differently when conditions change. Removing too much material too quickly can create a second problem. You should therefore combine technical inspection with a controlled programme of environmental stabilisation.
When to lift boards and inspect the subfloor
Lift boards or open the floor where readings, distortion or odour suggest that the visible surface is hiding damage. Inspection should establish the condition of the underside of boards, battens, shock pads, joists or slab, as well as any membrane or ventilation path. The opening should be planned to answer a question and then be protected from traffic.
If the damage is widespread, a few openings may not be enough. A pattern of inspections across the hall can show whether the subfloor condition matches the surface symptoms.
Drying timber safely without causing distortion
Drying should be gradual and controlled, with attention to temperature, relative humidity and air movement. Sudden heating or concentrated airflow can dry one face faster than another, increasing cupping, splitting or joint movement. You should monitor the timber and surrounding environment rather than relying on how dry the room feels.
Keep records of the drying period and readings at repeat locations. The objective is a stable floor that can be reinstated safely, not the fastest possible drop in one measurement.
Reinstating shock pads, battens and sports surfaces
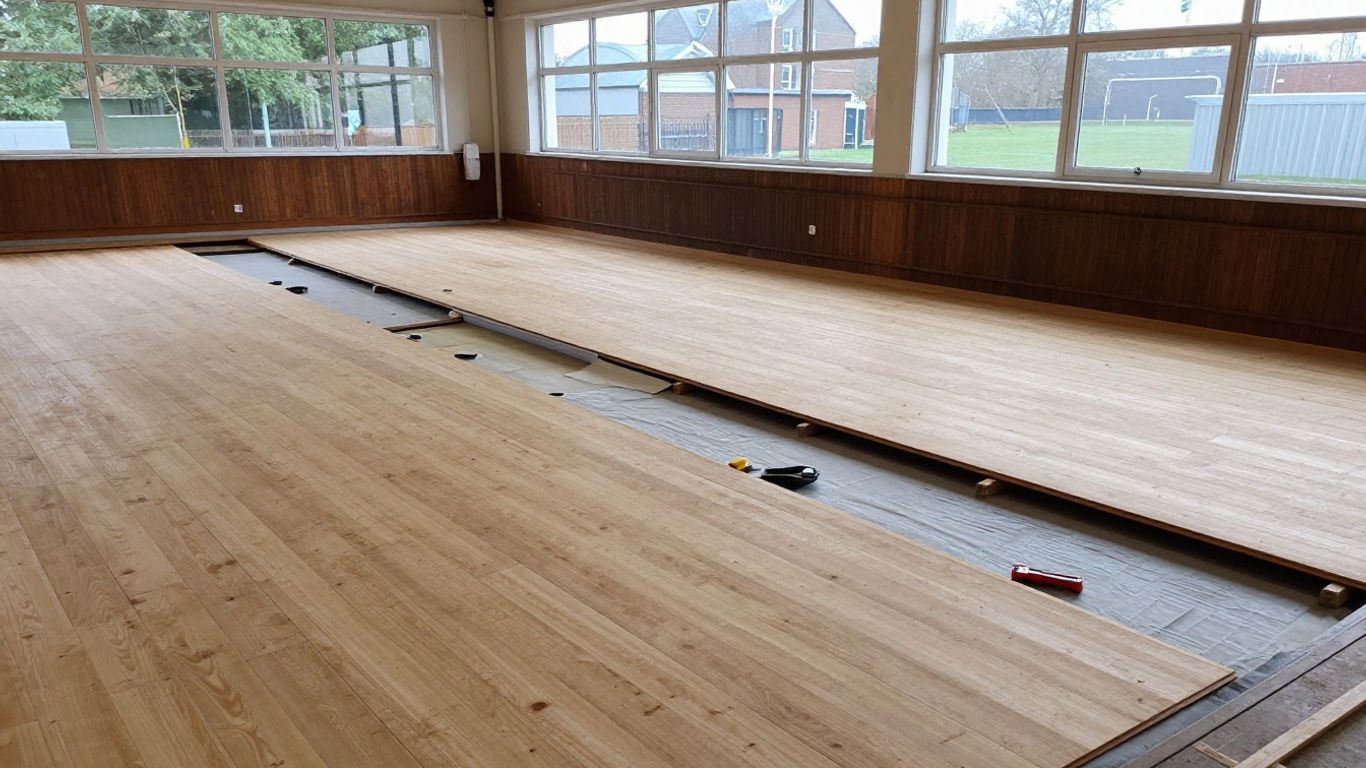
Damaged or contaminated components beneath the surface may need replacement before boards or panels are returned. Shock pads and battens must sit correctly, with the intended spacing, support and ventilation maintained. The finish then needs suitable preparation, adhesive selection and line marking for the planned sports use.
The reinstated system should be checked as a complete assembly. A visually neat repair is not enough if the floor has lost its intended shock absorption, level or surface friction.
Checking performance after repairs
After repairs, inspect the floor for movement, open joints, raised edges, soft areas and changes in appearance. Check that doors, access routes and sports equipment still work with the finished floor, and confirm that cleaning can be carried out without reintroducing excess moisture. Where the project specification requires it, performance assessment should be completed before handover.
Allow the floor to settle under controlled conditions before judging only its appearance. Early follow-up can identify small changes before they become a larger operational issue.
Planning works around an operating sports facility
Sports halls rarely sit empty for long, particularly in schools and council-managed leisure centres. You need to coordinate technical access with lessons, clubs, competitions, exams, cleaning and deliveries. The plan should make clear what can remain open, what must be isolated and when the floor will be safe for normal use. Good communication is part of the remediation, not an administrative extra.
Coordinating surveys with bookings and school use
Start by gathering the booking calendar, term dates, holiday periods and any planned building works. A survey may need access to adjoining rooms, plant areas or external drainage, so include those spaces in the appointment. If a repair is likely, reserve decision points rather than promising a completion date before the floor has been opened.
Complete Sports Flooring has worked with educational institutions and commercial sports facilities since 1994, and its planning approach is framed around installation, refurbishment and maintenance requirements. You should still agree the programme against your own operational calendar and the confirmed site findings.
Controlling dust, noise and access during remediation
Separate the work zone from occupied areas with suitable barriers, controlled routes and clear contractor access. Protect ventilation systems from dust where necessary, and agree noisy activities around lessons, classes and neighbouring rooms. Store tools and removed materials securely, especially where pupils or members of the public may pass nearby.
The method statement should cover access, waste, emergency routes, cleaning and daily handover. A tidy boundary reduces both safety risk and the chance that dust or debris reaches a newly prepared floor.
Setting realistic drying and curing periods
Drying and curing times depend on the source of moisture, the substrate, the repair materials and the building environment. They cannot be compressed safely simply to recover a booking. Build in time for repeat testing, acclimatisation, adhesive curing, surface finishing and any required performance checks.
Share the assumptions behind the programme with the facility team. That makes a weather-related delay or slower-than-expected drying easier to manage without putting the finished floor at risk.
Protecting adjacent rooms and stored equipment
Move portable equipment away from the work area and cover fixed items that cannot be relocated. Check that moisture, dust and odour cannot travel into changing rooms, offices, stores or sensitive plant spaces. Maintain a clean route for staff and keep sports equipment out of areas where it could mark or load a curing surface.
A final protection inspection before reopening should include skirtings, door thresholds, wall finishes and storage locations. These details are easy to overlook when attention is focused on the court itself.
Verifying the repair and preventing recurrence
Handover should demonstrate that the moisture problem has been addressed, not merely that a new finish looks clean. You need a record of the original defect, the investigation, the remedial work and the conditions achieved before installation. That evidence supports future maintenance and helps you respond quickly if symptoms return. It also gives users confidence that the hall has been reopened on a sound basis.
Establishing moisture targets before floor installation
Agree the required moisture and environmental conditions before materials arrive. The targets should relate to the substrate, timber or resilient covering, adhesive and floor system being installed, with the relevant manufacturer and project requirements confirmed in writing. Test representative areas, including locations that previously showed the worst symptoms.
Do not treat a dry-looking surface as proof of readiness. Installation should proceed only when the recorded conditions support the specified system and the building can maintain them.
Recording test results and remedial work
Keep plans showing test points, photographs of opened areas, readings, dates, weather or environmental conditions and details of repairs. Note which materials were used, where barriers or membranes were installed and how the surface was reinstated. Include any limitations or areas that could not be inspected.
A clear record turns a one-off repair into useful building information. It can shorten the next investigation and help contractors avoid repeating unsuitable preparation or materials.
Scheduling seasonal inspections and maintenance
Review the floor at sensible intervals, with extra attention after winter rainfall, periods of high humidity, plumbing work or prolonged closure. Look at perimeter zones, entrances, washroom routes, service areas and places where equipment restricts airflow. Continue normal cleaning and maintenance in line with the floor supplier’s instructions.
Seasonal checks do not need to be elaborate to be valuable. Consistent observations, photographs and occasional repeat readings can reveal a gradual change before boards lift or a finish blisters.
Responding to future flooding or humidity events
If the hall floods or experiences a significant humidity event, restrict use until the floor and surrounding construction have been assessed. Remove standing water safely, protect electrical systems and avoid trapping moisture under temporary coverings. Record when the event occurred, where water travelled and which areas were affected.
Arrange repeat testing after initial drying rather than reinstalling or cleaning by appearance alone. A measured response gives you the best chance of preserving sound materials and identifying hidden damage early.
Conclusion
When you investigate the source, measure the whole floor system and plan drying around real facility use, you can solve subfloor moisture issues without guessing at the remedy. Careful inspection, compatible repairs and recorded verification protect the playing surface, the users and the next maintenance cycle.
—Quick answers
Frequently asked questions
Common signs include cupped or swollen timber, open joints, bubbling resilient flooring, staining, odour and areas that feel uneven or soft. These symptoms need investigation because they can have several different causes.
Sometimes. Local repair may be suitable when the damage is confined and the surrounding floor system is sound, but testing and limited opening-up are usually needed before that decision is made.
Compare air temperature, surface temperature, relative humidity and moisture readings over time. Condensation is more closely linked to humid air meeting a cold surface, while moisture from below often follows the slab, ground or perimeter pattern.
No. Drying should be controlled and monitored because intense heat or airflow can create uneven drying, distortion, splitting or joint movement. The correct pace depends on the construction and the extent of wetting.
No. A barrier can be part of a suitable system where moisture comes through the base, but it cannot replace repairs to leaks, drainage or external water entry. Substrate preparation and material compatibility also matter.
There is no universal period. Closure depends on the source of moisture, drying conditions, repairs, curing requirements, testing and the floor specification. A programme should include contingency rather than rely on a fixed number of days.
Keep survey plans, photographs, moisture and humidity readings, repair details, product information, installation dates and handover checks. These records help you monitor the floor and respond more effectively to future water or humidity events.